
The installation process of an electric bike conversion kit is not particularly difficult. However, for beginners and DIY enthusiasts, there may be some common issues encountered during the selection and installation process. Based on customer feedback, this article compiles some frequently asked questions and their solutions regarding the purchase and installation of electric bike conversion kits. The aim is to help both new and experienced users solve these problems quickly and effectively.
1. Wheel Size Mismatch
Bicycle manufacturers typically mark size information on the inside of the tire, allowing customers to quickly and accurately obtain tire-related information during maintenance or replacement. Users can directly purchase matching kits from our website based on the size marked on the tire. For example, if your tire is marked with 26", you can choose the 36V 350W Rear Motor Kit for Cassette or the 36V 250W 26" Front Motor Kit in the 26" option. Of course, this is just an example, and you can choose according to your preference.

However, some older bicycles may lack these markings, requiring users to measure the wheel diameter themselves to purchase the appropriate kit.
It is important to note that the wheel size indicated on the webpage usually includes only the rim diameter, excluding the tire. Therefore, when purchasing a tire, ensure that the selected size completely matches the bicycle's rim.
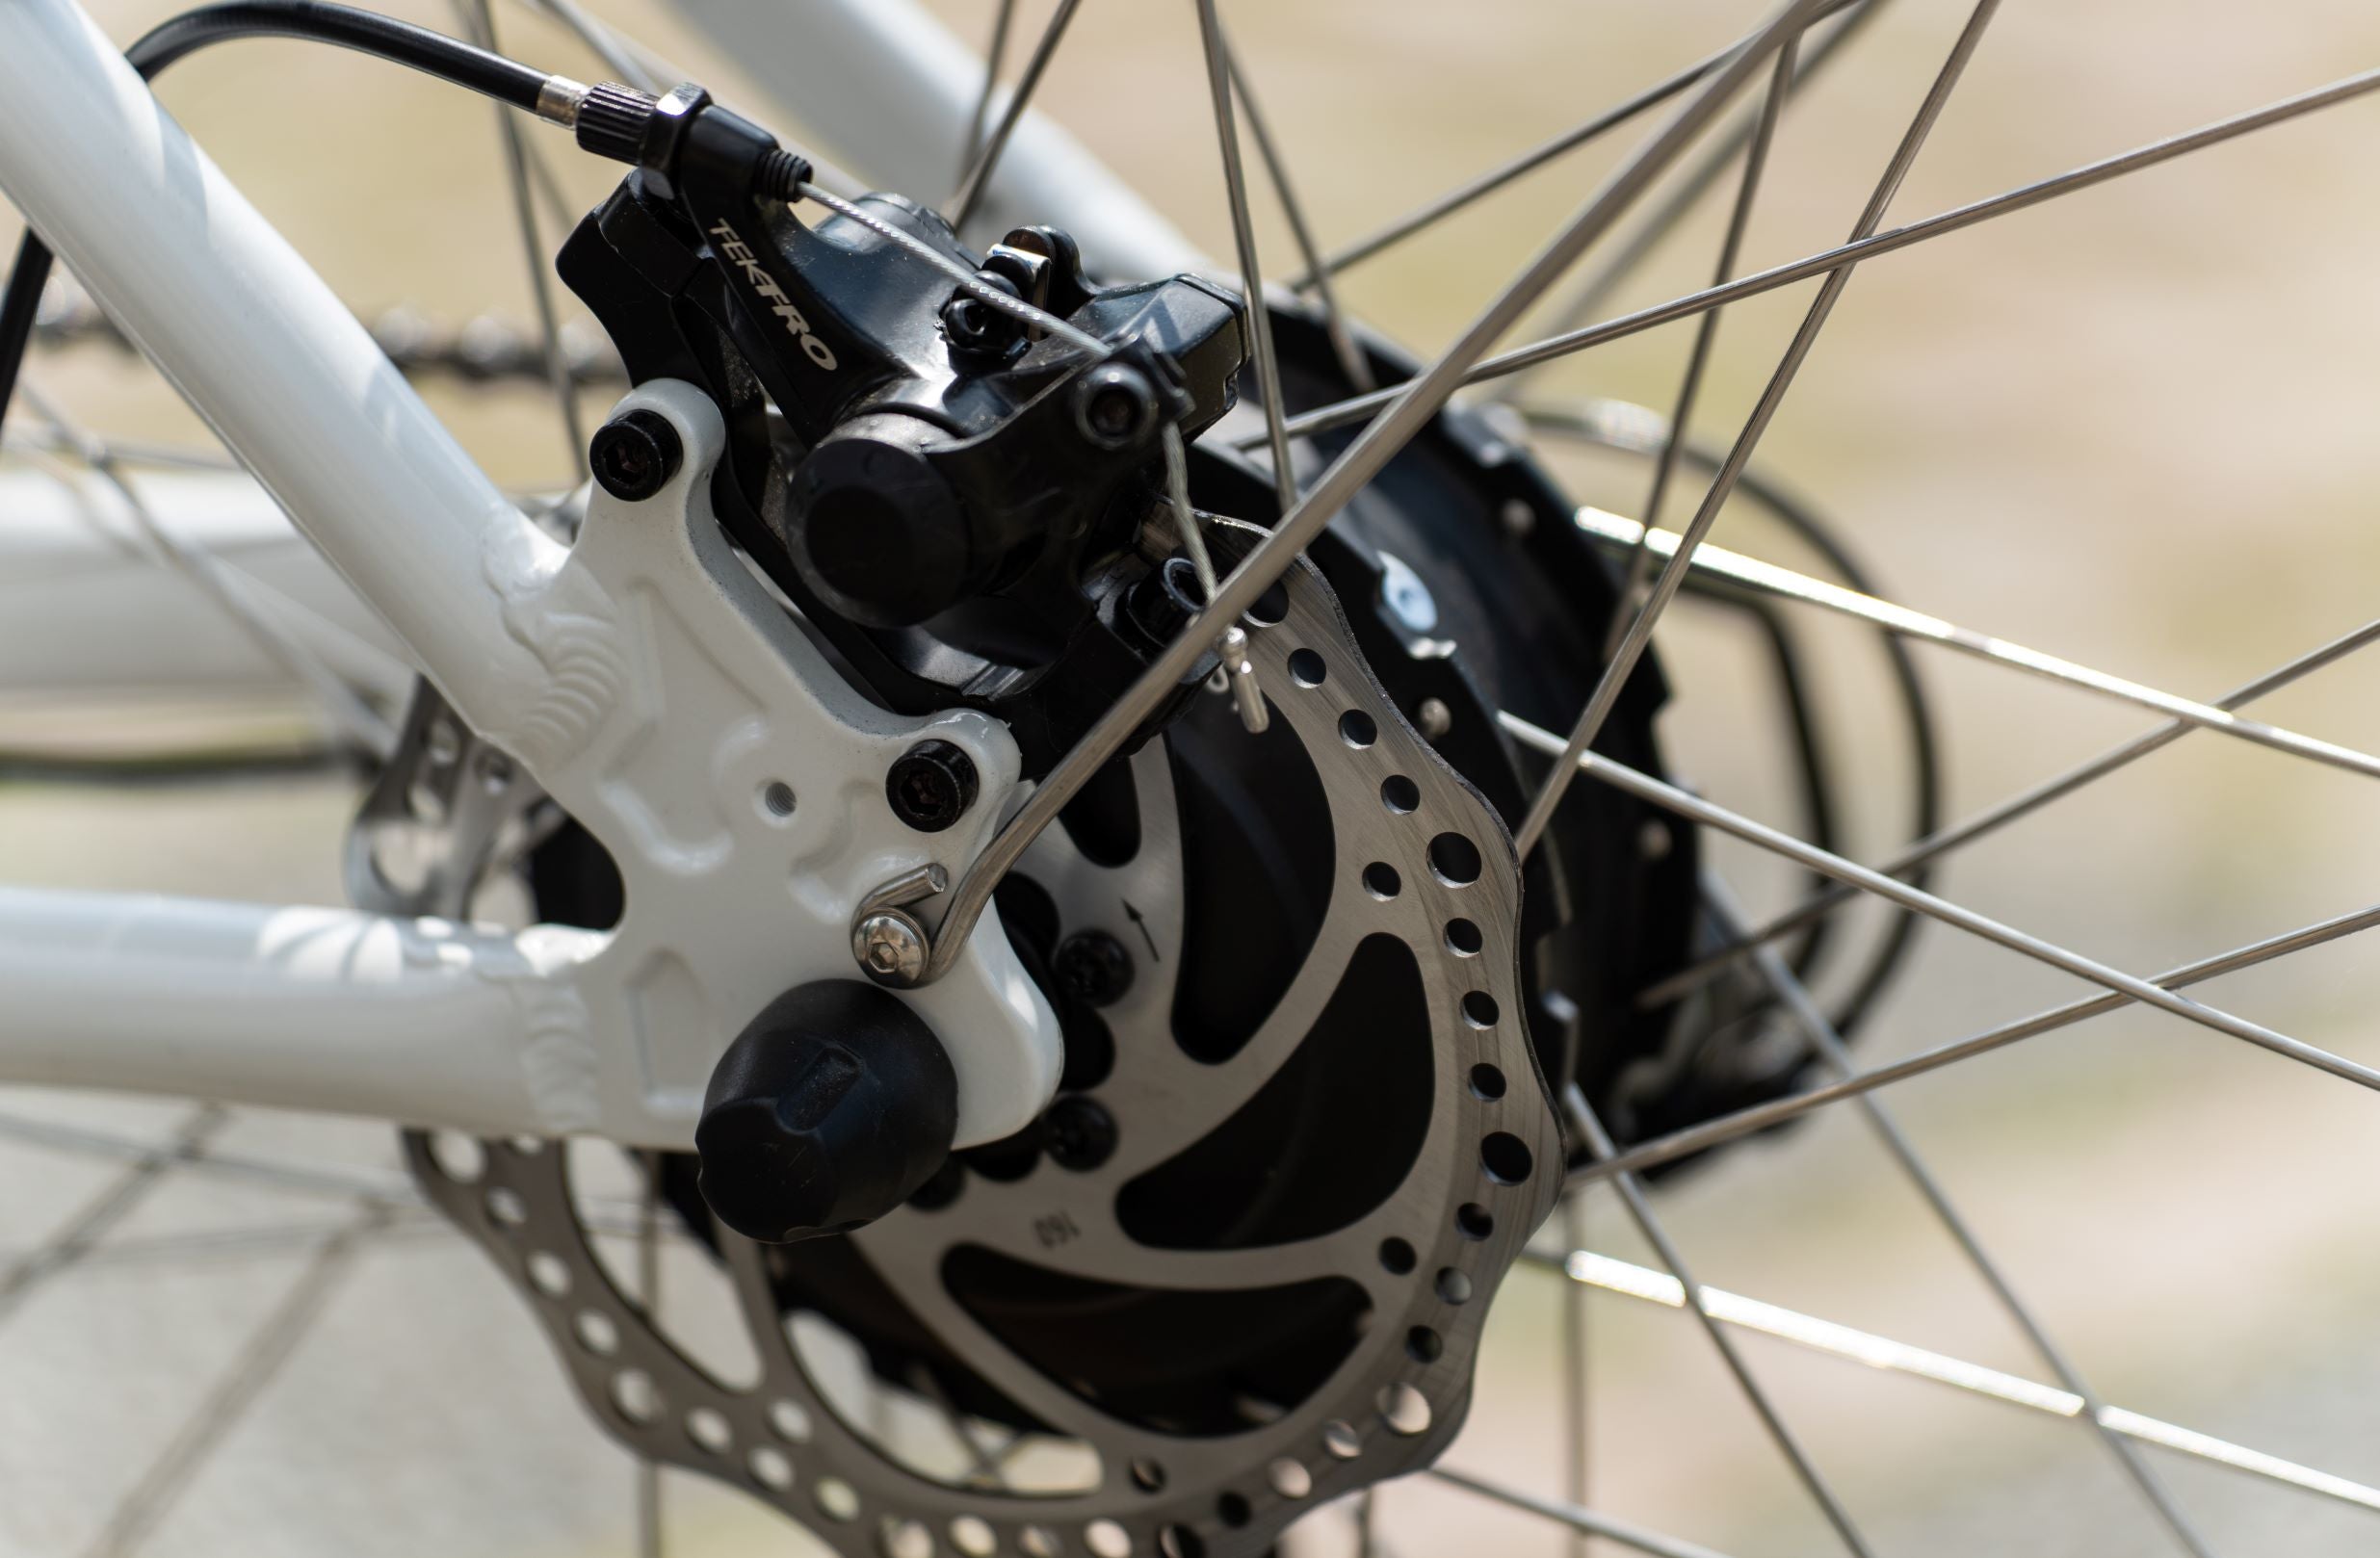
2. Sensor and Crank Incompatibility
The sensor in the electric bike conversion kit is typically installed on the left crank and is compatible with most bicycle cranks. However, Hollowtech II and Octalink cranks require special sensors (such as the Hollowtech II Sensor for the Right Side). In such cases, users need to purchase an additional compatible sensor.
Some users have reported that the sensor does not fit perfectly on the bottom bracket (BB). To address this issue, they used a file to enlarge the diameter of the sensor's interior, allowing it to fit the BB more precisely. Although this is a feasible solution, it requires a certain level of manual skill and tools.
3. Battery Installation Location
Standard electric bike conversion kits usually come with a Hailong downtube battery. However, some bicycles have insufficient space between the top tube and the downtube to accommodate this battery. It is important to note that the detailed dimensions and installation diagrams of the battery are provided on each kit's product page. Please measure your bicycle to ensure it can fully accommodate the battery before purchasing. Some users opt to mount the battery on the rear rack or put it on the top tube. While these methods solve the space issue, they may affect the battery's stability. For users facing this issue, we recommend considering kits without a battery and purchasing a dedicated rear rack battery or seat tube battery separately.
Another scenario involves the holes on the downtube being used for a water bottle cage, positioned too low for battery installation. For users with strong DIY skills, this issue can be resolved by drilling new holes. A simpler solution is to purchase a battery mounting bracket along with the kit.
4. Incompatibility of brake Lever with Hydraulic Brakes
Some users might overlook a detail when purchasing: the brake lever in our electric bike conversion kit is designed for bicycles with disc brakes and needs to replace the existing brake lever. If the bicycle is equipped with hydraulic brakes, this brake lever will not be compatible. To solve this issue, users can purchase a specialized brake sensor separately. Simply attach it to the existing brake lever and connect the cables.
5. Installation of Connection Cables
When installing the connection cables of an electric bike conversion kit, it is important to ensure that each cable is correctly matched. The cable ends are usually color-coded, making the installation process relatively simple. However, some users have reported that the cables are too long, resulting in untidy cable stacking. To address this, you can first arrange the cables neatly and then use zip ties to secure them to the bike frame. Additionally, the kit typically includes a storage bag that can be used to organize any excess cables, making the setup more aesthetic and functional.
6. Getting More Help
During the installation and maintenance process, it is recommended to make full use of the instruction manual and YouTube installation videos. Additionally, our customer service team (service@yosepower.com) is always happy to assist you with any difficult problems using their professional knowledge.
If you want to gain more knowledge about the maintenance of Yose Power products and receive updates on new products, please follow our YouTube channel to stay informed.
Special Offer
Place your order through the links inserted in this article or this link, and use the discount code YOSELILY to get a €10 discount.
Conclusion
Although the selection and installation process of an electric bike conversion kit involves multiple details and technical requirements, it is not complicated if you master the correct methods and techniques. Whether you are choosing the right wheels and sensors, installing the battery, or organizing the connection cables, you can successfully complete the electric bike conversion by adjusting according to your actual situation and needs. We hope this article provides you with valuable references to help you easily solve common problems in the installation of electric bike conversion kits.
Share:
Protect Your E-Bike:Adopt Anti-Theft Measures
Tips for Relieving Wrist Pain When Biking